AI Social Media Engine
Step-by-step guide for team members using AI Social Media Engine on EZ4YouTech.com.
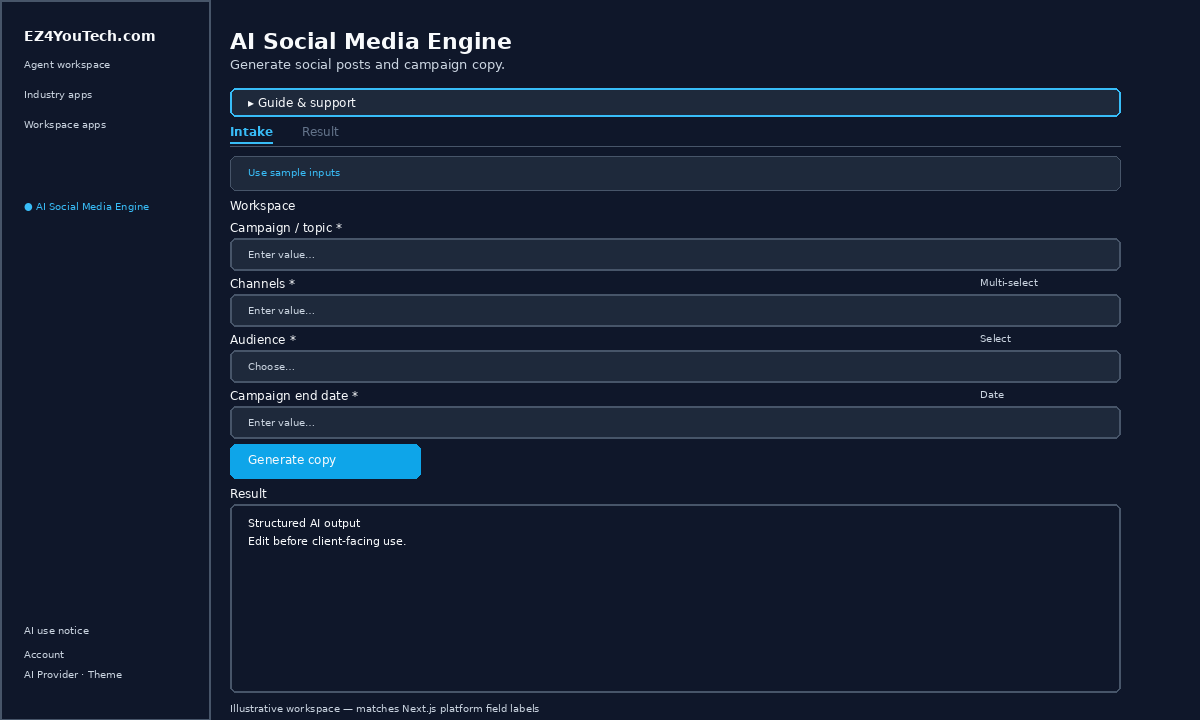
Generate social posts and campaign copy.
Workspace fields
These labels match the live EZ4YouTech.com workspace (sidebar provider + main panel):
- Campaign / topic (required), text field in the workspace
- Channels (required), multiselect field in the workspace
- Audience (optional), select field in the workspace
- Campaign end date (optional), date field in the workspace
- Key details (required), textarea field in the workspace
Primary action button: Generate copy
Workspace overview
Before you start
- Sign in as a team member on your company workspace (admins connect AI accounts separately).
- Confirm your company admin has connected at least one supported AI provider: leading AI services such as OpenAI, Together, Groq, and xAI (Grok); see the full list and pricing comparison in admin BYOS setup.
- Verify your plan includes Elite apps: locked apps show which plan unlocks them.
Step-by-step
- Open the app: In the workspace sidebar, select AI Social Media Engine under Everyday common utility tools.
- Choose your AI provider: In the sidebar, pick the AI provider your company admin connected (your admin sets try-order in BYOS setup).
- Review Guide & support: Expand Guide & support at the top for what the app does, how-to steps, tips, and feedback.
- Acknowledge AI use notice: On first workspace entry each browser session, read the AI use notice and click I understand: continue to workspace.
- Use sample inputs (optional): Click Use sample inputs above the form to load demo values from the tutorial, then edit before you run.
- Fill Campaign / topic: On the Intake tab, enter Campaign / topic (required). Required fields are marked with *.
- Fill Channels: On the Intake tab, enter Channels (required). Required fields are marked with *.
- Fill Audience: On the Intake tab, enter Audience (optional). Required fields are marked with *.
- Fill Campaign end date: On the Intake tab, enter Campaign end date (optional). Required fields are marked with *.
- Fill Key details: On the Intake tab, enter Key details (required). Required fields are marked with *.
- Run the app: Click Generate copy. Output appears on the Result tab with download and regenerate options.
- Review before client use: Confirm facts, dates, and compliance language. Do not paste full SSN or card numbers.
Example inputs
Paste similar data in the workspace: use only data you are allowed to process. Field names match the live product.
Campaign / topic
3BR suburban listing: open house 5/24Product, property, service, or campaign focus.
Channels
LinkedIn, Email newsletterSelect every channel where posts will run.
Audience
Local buyers on Instagram and your email listWho will read the copy (buyers, patients, fleet managers, etc.).
Campaign end date
2026-06-30Expiration date for the promotion.
Key details
1,850 sq ft, updated kitchen, list price per your MLS sheet, open house Sat 1–4pmOnly facts you can verify; do not ask the AI to invent pricing or approvals.
Try these scenarios
Adapt these prompts to your client: do not paste payment card numbers, SSNs, or full IDs.
- Instagram caption + 3 hashtags for a Saturday open house.
- Short LinkedIn post announcing a new service line.
- Email subject lines A/B for a seasonal promotion (facts you supply).
Expected result
Shape of the AI output in the Result panel: review before client use.
Example output (marketing copy)
- Headline and 2–3 short post variants for your audience
- Bullets using only key details you entered
- Disclaimer line when promos or health claims apply
Tips
- Keep inputs specific: include dates, names, and constraints for better drafts.
- Do not paste full payment card or government ID numbers: use business-appropriate excerpts only.
- If the app is locked, ask your admin to upgrade your plan or confirm AI account setup.
← Back to everyday common utility tool tutorials · Getting started · FAQ